1. 安装
npx create-strapi-app@latest my-project
# or
yarn create strapi-app my-project --quickstart
2. 设置为中文
新建 src/app.js,并粘贴以下内容:
const config = {
    locales: ['zh'],
};

const bootstrap = (app) => {
    console.log(app);
};

export default {
    config,
    bootstrap,
};
重启后进入网站首页,点击左下角头像→个人资料→体验→界面语言,调整为中文即可。

3. 新建表
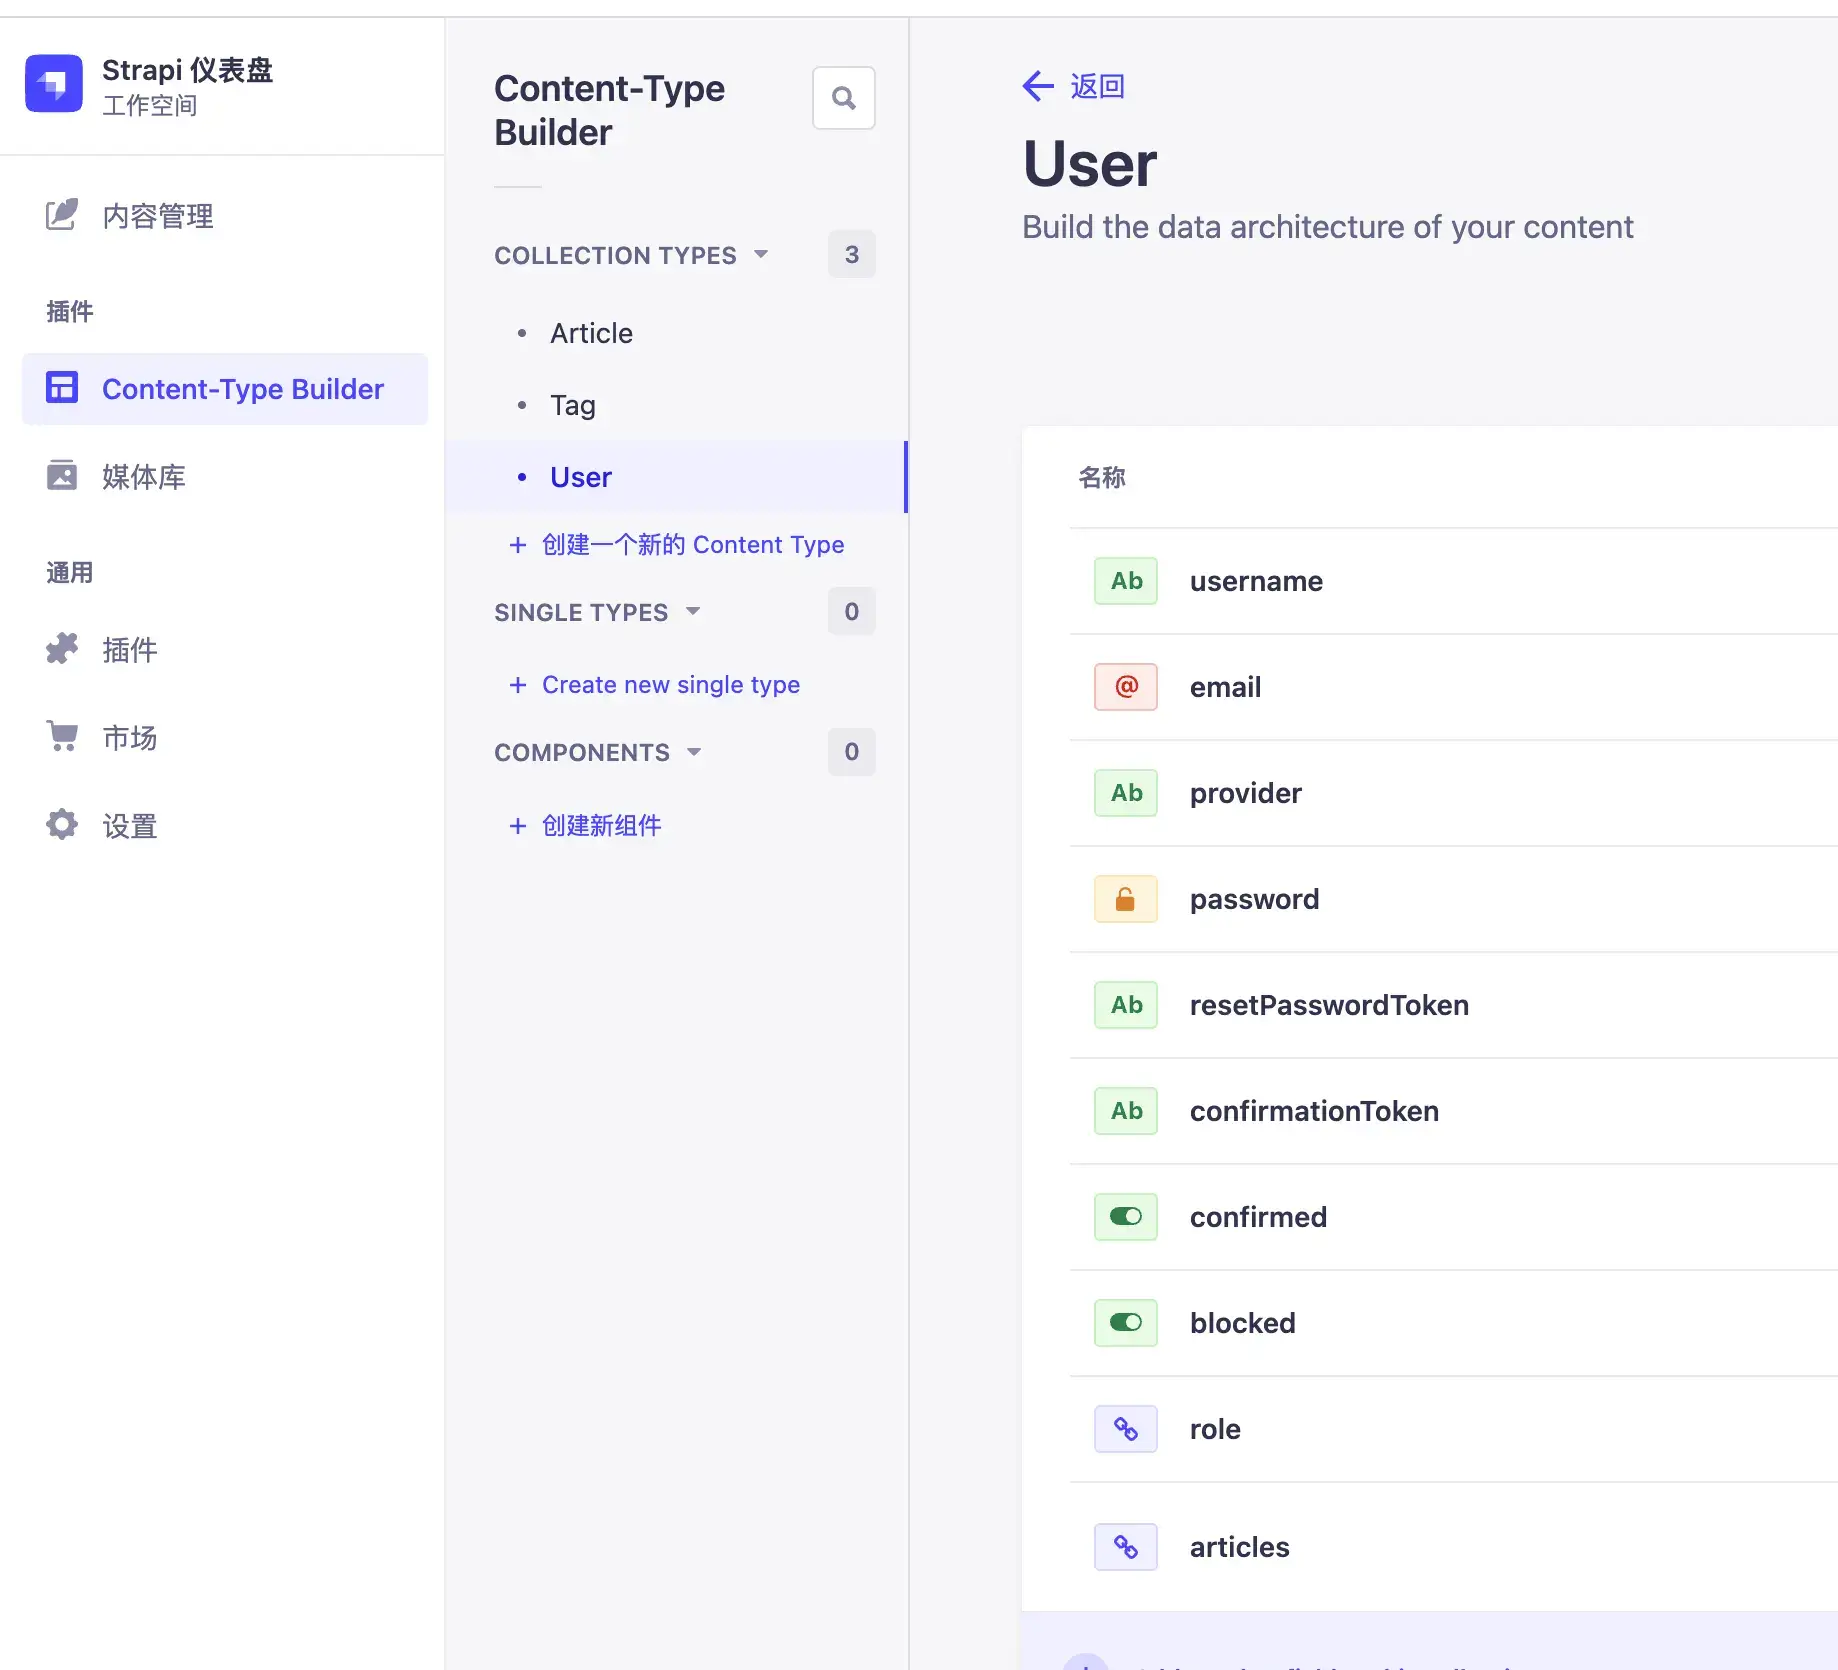
默认已经创建了 User 表,点击 创建一个新的 Content Type 来创建表新表:

4. 创建关系
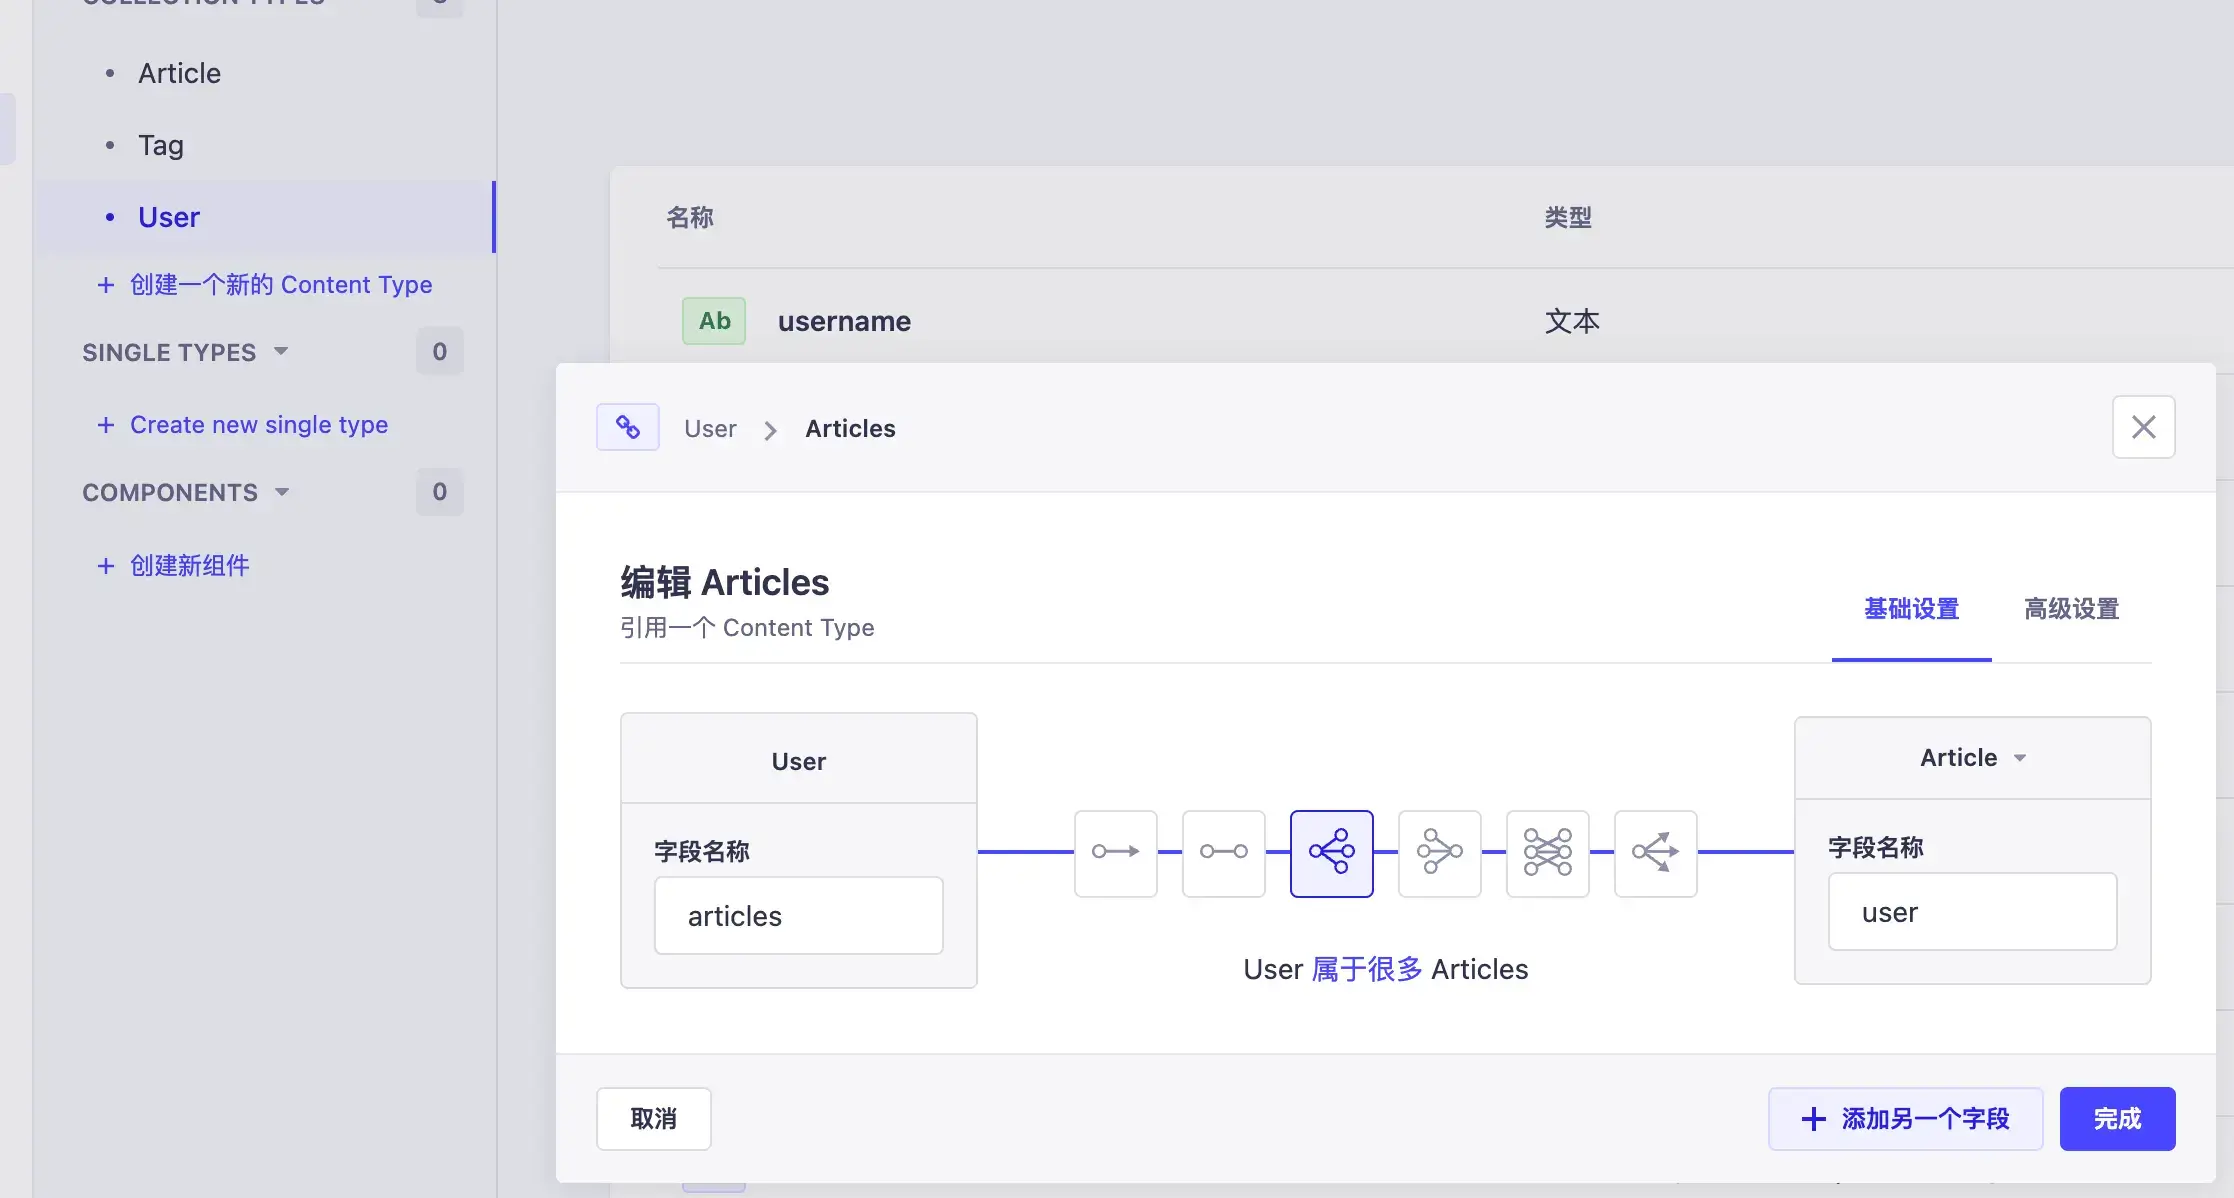
在一个表中新建一个字段,类型选择引用,可以选择关系的类型,包括1v1、1v多、多v1等等。下面是 User 多对一 Article :

5. 放开 权限
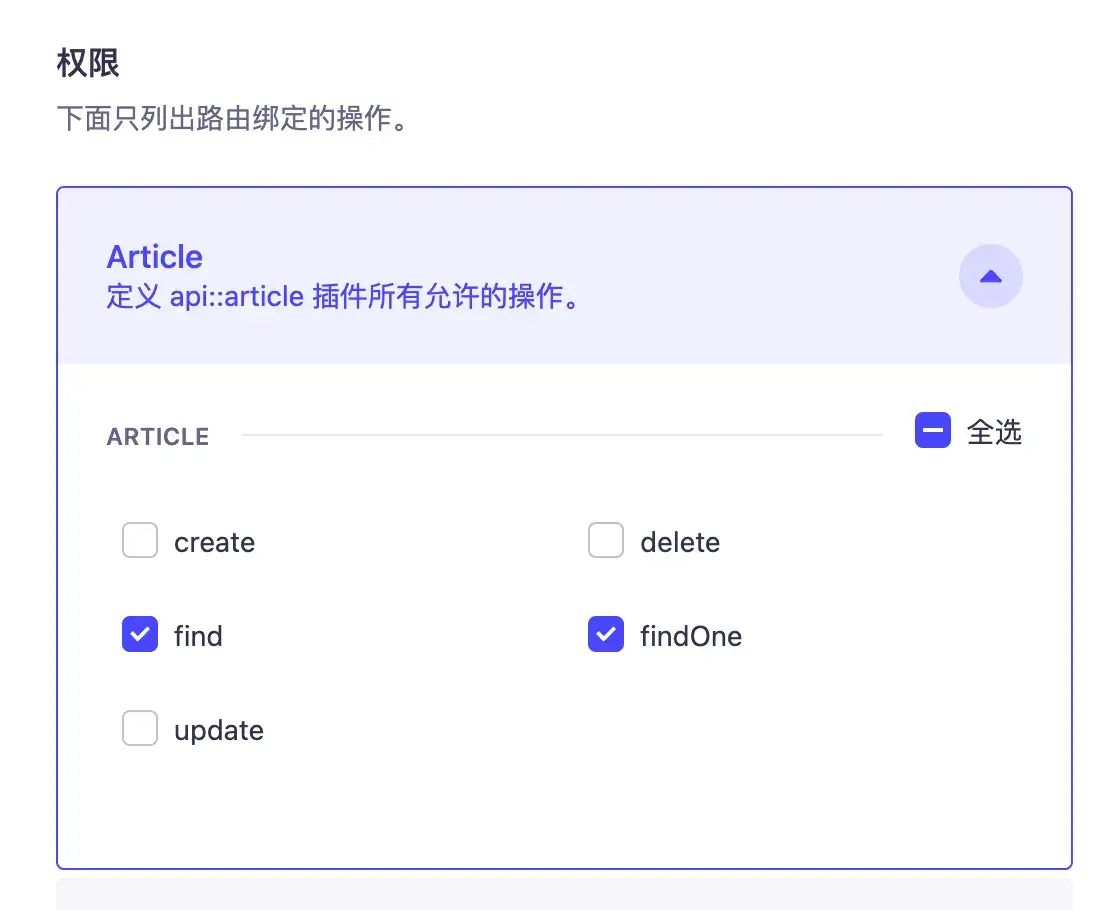
设置 → 角色 → public
开放文章查询权限:

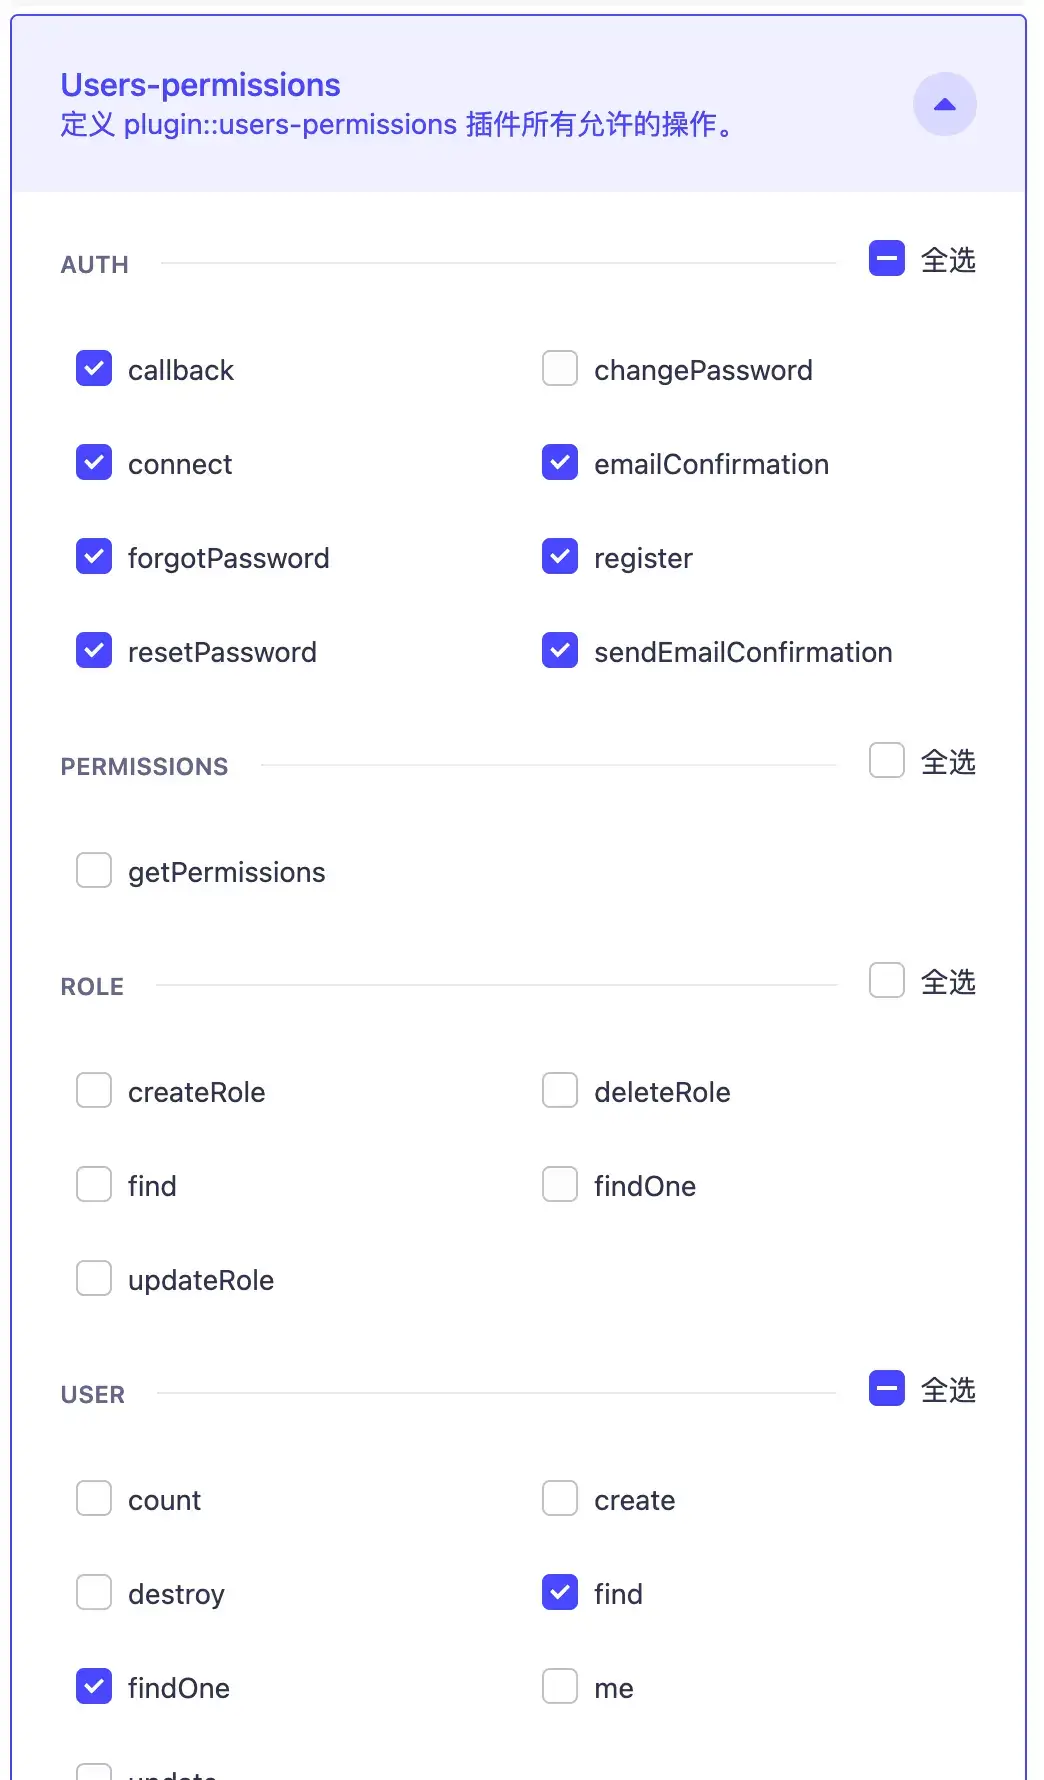
开放文章作者查询权限,否则连表查询的时候查不到作者信息:

6. 接口测试
http://localhost:1337/api/articles
会发现只查到了文章列表:
{
  "data": [
    {
      "id": 6,
      "attributes": {
        "content": "test1test1test1\n\n# test1test1",
        "title": "test1",
        "desc": "test1test1",
        "createdAt": "2023-04-11T03:41:59.599Z",
        "updatedAt": "2023-04-11T03:47:21.010Z",
        "publishedAt": "2023-04-11T03:42:00.405Z"
      }
    }
  ],
  "meta": {
    "pagination": {
      "page": 1,
      "pageSize": 25,
      "pageCount": 1,
      "total": 1
    }
  }
}
需要添加参数进行连表查询:
http://localhost:1337/api/articles?populate=*
{
  "data": [
    {
      "id": 6,
      "attributes": {
        "content": "test1test1test1\n\n# test1test1",
        "title": "test1",
        "desc": "test1test1",
        "createdAt": "2023-04-11T03:41:59.599Z",
        "updatedAt": "2023-04-11T06:16:17.782Z",
        "publishedAt": "2023-04-11T03:42:00.405Z",
        "user": {
          "data": {
            "id": 3,
            "attributes": {
              "username": "mkmk",
              "email": "[email protected]",
              "provider": "local",
              "confirmed": true,
              "blocked": false,
              "createdAt": "2023-04-11T02:51:19.930Z",
              "updatedAt": "2023-04-11T02:51:19.930Z"
            }
          }
        },
        "tags": {
          "data": [
            {
              "id": 1,
              "attributes": {
                "label": "testTag",
                "createdAt": "2023-04-11T03:47:12.104Z",
                "updatedAt": "2023-04-11T03:47:12.680Z",
                "publishedAt": "2023-04-11T03:47:12.679Z"
              }
            },
            {
              "id": 2,
              "attributes": {
                "label": "testTag2",
                "createdAt": "2023-04-11T06:16:08.647Z",
                "updatedAt": "2023-04-11T06:16:09.256Z",
                "publishedAt": "2023-04-11T06:16:09.255Z"
              }
            }
          ]
        }
      }
    }
  ],
  "meta": {
    "pagination": {
      "page": 1,
      "pageSize": 25,
      "pageCount": 1,
      "total": 1
    }
  }
}← Previous postCentOS7 MySQL 数据库安装与卸载
Next post →Nest.js Typrorm 多对多关系如何创建

